
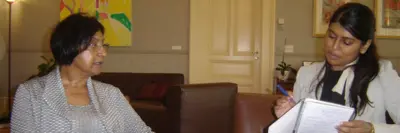
Omar Badsha and Roshan Dadoo.
imageREF I-0098331Revised
Image record
Yusuf Dadoo Image 19
- Updated
- 24 Jul 2019

South African History Online. (2014, September 19). Yusuf Dadoo Image 19. South African History Online. https://sahistory.org.za/ref/I-0098331
South African History Online (2014) 'Yusuf Dadoo Image 19', South African History Online, 19 September. Available at: https://sahistory.org.za/ref/I-0098331 (Accessed: 29 October 2026).
South African History Online, Yusuf Dadoo Image 19 [website], https://sahistory.org.za/ref/I-0098331, (accessed 29 October 2026).
"Yusuf Dadoo Image 19." South African History Online, 19 Sept. 2014, https://sahistory.org.za/ref/I-0098331. Accessed 29 Oct. 2026.
South African History Online. "Yusuf Dadoo Image 19." South African History Online. September 19, 2014. https://sahistory.org.za/ref/I-0098331.
Further reading
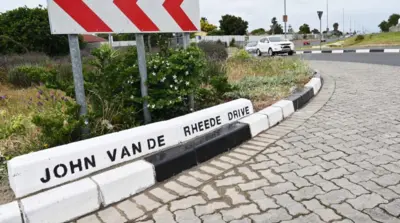 Place
Kuils River
Long before European ships arrived, the land around modern Kuils River already carried the footprints of indigenous...

 Place
False Bay
If you leave the "Mother City" of South Africa and follow the M3 towards Muizenberg, you will have a great view of the.....
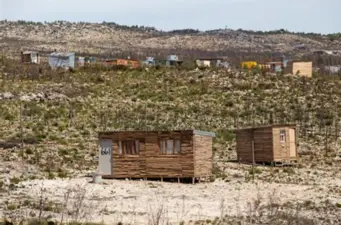 Place
Knoflokskraal Settlement
Knoflokskraal is a settlement that has grown significantly since its inception in 2020, with homes, livestock farms,...
 Archive
 Archive
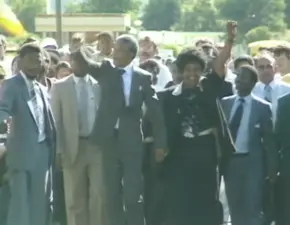
How Glasgow helped free Nelson Mandela
Your browser does not support the video tag.
SAHO is free because readers fund it. Donate →